
What have you learnt about technologies from the process of constructing this product?
I have learnt very much about various technologies throughout the process of creating my product, some of which I had already seen my skills flourish in, and others that had been completely new to me. Without these, I don't believe my finished magazine would be to the same quality it is.

Blogger was one of the first I had been introduced to. I had no experience in using the website previously, yet over time managed to understand how it worked. I used my blog to keep track of my progress, regularly posting any development on the project. I think this helped me control and manage my time on creating the magazine, as it was easy to tell where I was at and what still needed to be done.
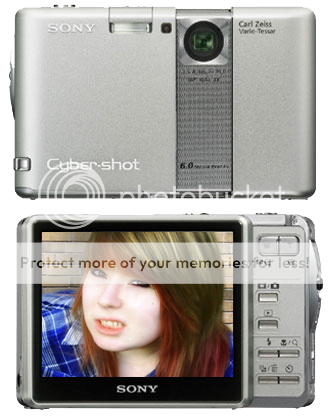
Before even beginning the actual design of my magazine, I had to get hold of a camera and take some photographs. I had browsed through a variety of branded magazines already, so had a clear image in my mind of what I planned the pictures to look like. At first, I didn't have a camera of my own, although this project encouraged me to invest in some money and purchase one which would allow me to take photographs of a satisfying quality. The digital camera bought however, was not too complex to use and I adapted to it fairly quickly. There were also many useful options included, such as red eye removal and a selection of lighting choices.
One new
 item of software I was introduced to was Adobe Photoshop CS4, and this played a crucial part in the entire creation of my magazine. I had limited experience in a similar programme, called GIMP (GNU Image Manipulation Programme), so this may be considered as a "head start", and quite beneficial for me. However, Photoshop is fairly more advanced therefore it took longer than expected to adjust to the changes between the two.
Photoshop was a necessity throughout the majority of the course, commonly being used for both photo editing and the design elements. Below are just a few of the techniques I have learnt, and processes I encountered in order to improve the overall look to my magazine...
* Changing Hue/Saturation Levels
This was very useful for the editing of my photos, as they were photographed outside where the lighting was reasonably poor, and the outcome appear
 ed quite dull and shady - which would not attract many readers. However, this fast and simple tool allowed me to brighten up the colours and create a more professional, asethetically pleasing look to them.
* Facial Editing
 This procedure is used for the pictures used in almost every magazine around today, even outside of the selection of music magaines I've studied. There are quite a few different tools available on Photoshop that allow you to effortlessly remove any spots or marks you wish to hide. I found myself using the Spot Healing Brush quite often, as it appeared to be the most effective at covering up all unwanted lumps and bumps. I also used the Smudge Tool, to help smoothen out the skin and help provide a more natural look. With the use of the Paintbrush, I am also able to add make-up onto Leanna's face to enhance her indie-styled look.
Here is the original and finished result, once completed the above steps. There is evidently a vast imporvement in quality between the two images, the second having softer skin and a bold burst of colour, making it much more likely to catch people's eye.

* Adding Shadows
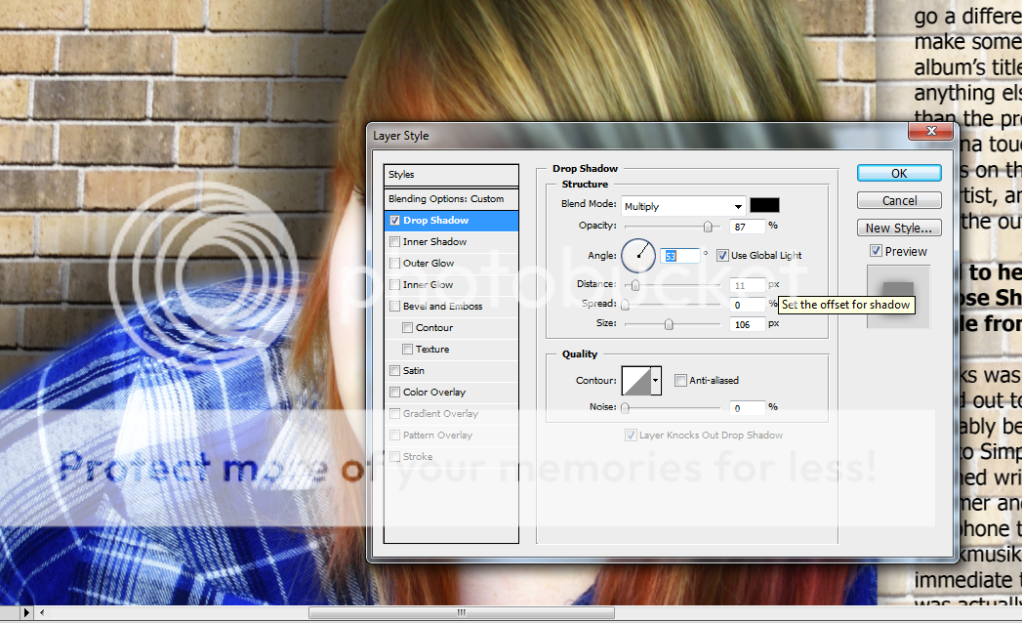
There are also plenty of other essential things I have learnt on Photoshop, throughout my progression of using the software. These include:
* Using the magnetic lasso tool and magic wand to remove backgrounds
* Cropping in order to select a particular part of a picture
* Creating text layers, adjusting their layout and how to text wrap
* Downloading various fonts and brushes for use within my magazine
* Adding various filters to alter an image and add appealing effects
* How opacities work, and how to change the levels of transparency
Although perhaps not as vital to the course as the previous, there were many other technologies used that assisted me in the design of my magazine:
- InDesign -> this software application is specified for publishing purposes, and aided me when creating the general layout of my double page spread, when creating columns and aligning the text. However, by this time my experience in Photoshop and had grown a lot more comfortable working with the tools used in this programme rather than InDesign. Therefore, I believed I would benefit by completing the publication in what I had become accustomed to.
- Photobucket -> I decided to use this website to display many of my pictures for my blog, as it allows easy access and keeps them organised in an orderly way. I had occassional technical difficulties and glitches when using the image uploader provided by Blogger, therefore I instead deemed Photobucket more appropriate for the task, as its actual purpose is to host peoples images.
- Grab Tool -> This is a very fast and practical application for use on the Mac, that allows you to swiftly take entire screenshots or crop select images from the window open. This tool was highly convenient due to its time efficiency, as it was faster than the usual copy/paste job.
- YouTube -> Although this may not have been especially advantageous throughout the process of composing my magazine, it had been very useful for practicing my skills on Photoshop and watching them develop, as there are various tutorials available to watch and follow - that teach you step by step how to achieve these effects and techniques.
No comments:
Post a Comment